How to Skim Coat Walls for a Smooth, Even Surface
Table of Contents
- Introduction
- What Does It Mean to Skim Coat Walls?
- When Skim Coating Is Necessary
- Tools and Materials Used for Skim Coating
- How to Skim Coat a Wall Step by Step
- Skim Coat Ceiling Considerations
- Common Challenges and Limitations
- Preparing Skim Coated Walls for Paint or Finish
- Conclusion
- Book a Skim Coating Service
- Frequently Asked Questions
Key Takeaways
- Skim coating walls involves applying a thin layer of joint compound to smooth surface imperfections.
- It is commonly used to repair damaged drywall or prepare walls for painting.
- Proper tools, surface preparation, and drying time are essential for consistent results.
- Skim coating can be applied to walls and ceilings, though ceilings require added care.
- Understanding limitations helps homeowners make informed decisions about wall preparation.
Introduction
Skim coating walls is a method of applying a thin, even layer of compound over a wall surface to reduce imperfections and create a smoother finish suitable for painting or finishing. This topic matters to homeowners and property owners because uneven or damaged walls can affect the appearance and longevity of interior finishes, especially in high-visibility living or working spaces.
By understanding how skim coating works and when it is appropriate, we can make informed decisions about interior wall preparation and maintenance.
What Does It Mean to Skim Coat Walls?
Skim coating refers to the process of spreading a thin layer of joint compound or plaster over drywall or previously painted surfaces. The goal is not to build thickness, but to level out minor surface flaws.
This technique is often used to address issues such as:
- Hairline cracks
- Nail pops
- Small dents or gouges
- Uneven textures from previous repairs
When done properly, skim coat walls appear flatter and more uniform under natural or artificial light. This is especially important before applying light-colored or glossy paints, which tend to highlight surface imperfections.
When Skim Coating Is Necessary
Not all walls require skim coating. It is typically considered when surface irregularities are widespread rather than isolated.
Common Situations That May Require Skim Coating
- After removing wallpaper, where adhesive residue remains
- Following drywall repairs that left visible seams
- When covering outdated textures such as knockdown or orange peel
- In older homes where wall surfaces have settled or cracked over time
In areas like Eagan, MN, seasonal temperature changes can contribute to minor wall movement, making surface repairs more common during renovation projects.
Tools and Materials Used for Skim Coating
Understanding the materials involved helps set realistic expectations about the process.
Standard Materials
- Joint compound (pre-mixed or powdered)
- Drywall knives (10–14 inches are common)
- Taping knives for detail work
- Sanding blocks or pole sanders
- Drop cloths and protective coverings
Optional Tools
- Hawk and trowel for larger surfaces
- Roller and tray for applying compound
- Work lights to highlight imperfections
The quality of tools can influence consistency, especially when working across large wall areas.
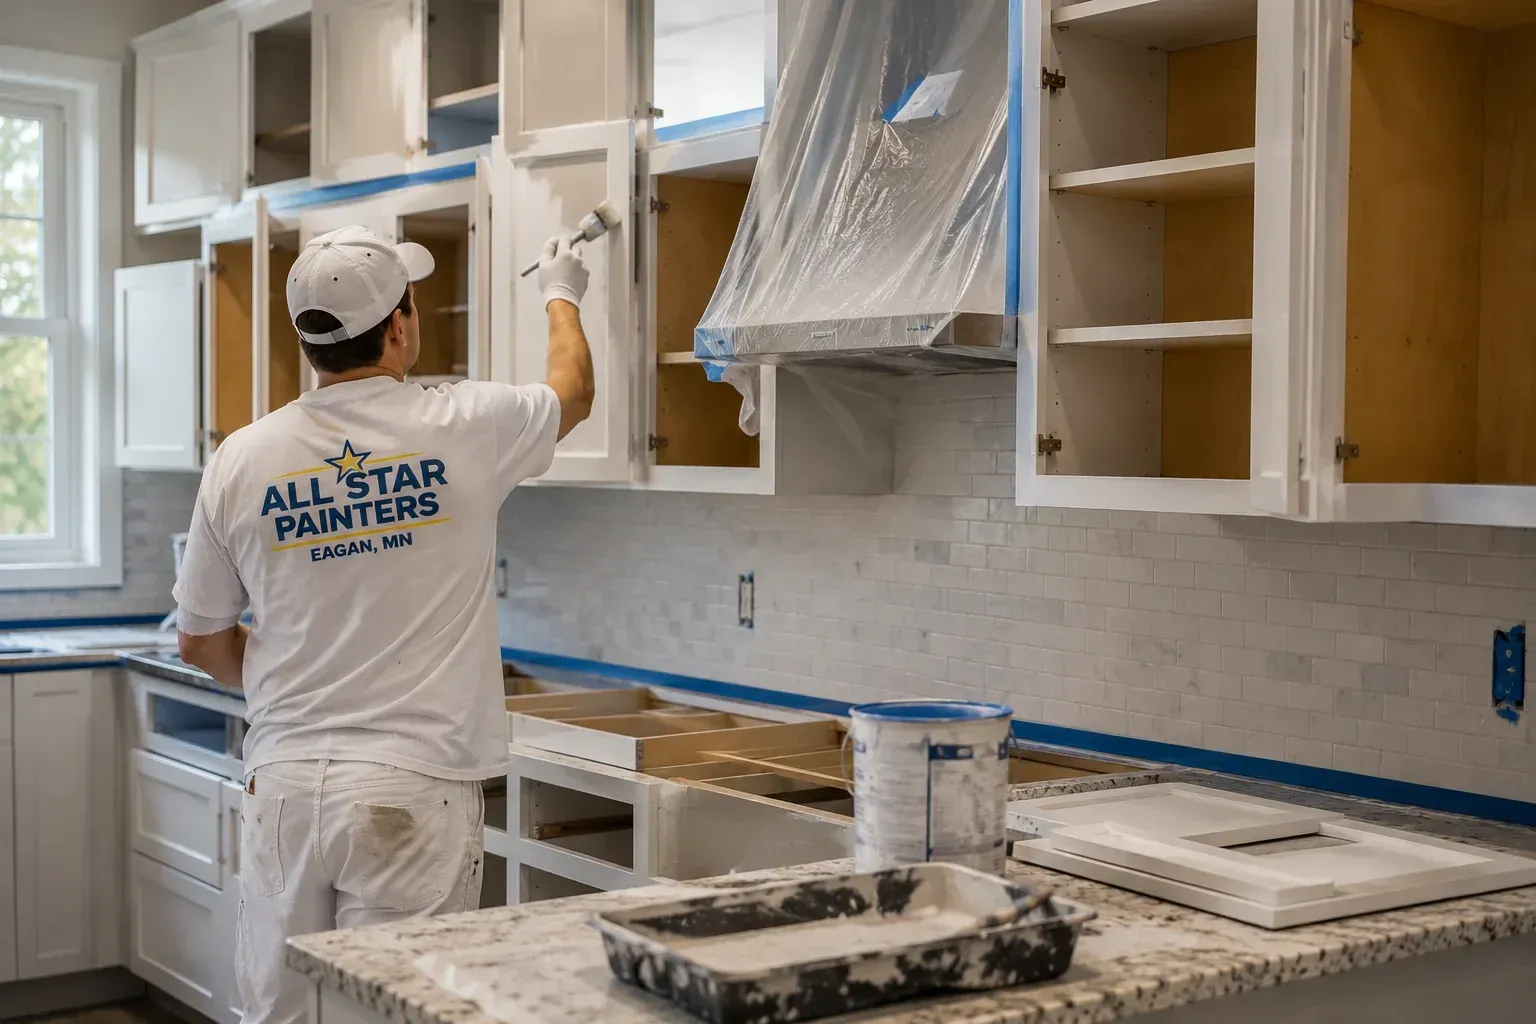
How to Skim Coat a Wall Step by Step
Learning how to skim coat a wall involves understanding both technique and patience. The process usually occurs in stages rather than a single application.
Surface Preparation
Before applying compound, the wall must be clean and stable. Dust, grease, or loose paint can prevent proper adhesion.
We typically ensure:
- Holes and cracks are pre-filled
- Glossy surfaces are lightly sanded
- Electrical outlets and fixtures are protected
Applying the First Coat
The first skim coat is applied thinly using a drywall knife or trowel. The compound is spread evenly, working from top to bottom.
At this stage, the goal is coverage, not perfection. Some tool marks are expected.
Drying and Sanding
Once dry, the surface is lightly sanded to remove high spots. Over-sanding can expose the drywall beneath, so restraint is important.
Additional Coats
Most skim coat walls require two to three coats. Each coat becomes progressively thinner and smoother.
Adequate drying time between coats helps prevent cracking or uneven textures.
Skim Coat Ceiling Considerations
Skim coating a ceiling follows similar principles but introduces additional challenges due to gravity and overhead work.
Key Differences
- Compound consistency is often slightly thicker
- Smaller sections are worked at a time
- Extra attention is needed to prevent drips
A skim coat ceiling is commonly done when removing popcorn texture or repairing water-damaged drywall. Proper lighting is especially helpful when working overhead to identify uneven areas.
Common Challenges and Limitations
While skim coating is effective, it is not a universal solution.
Potential Challenges
- Time-intensive process requiring multiple days
- Dust created during sanding
- Physical strain, particularly on ceilings
- Learning curve for achieving consistent thickness
Skim coating does not correct structural issues or severe drywall damage. In those cases, panel replacement or more extensive repairs may be necessary.
Preparing Skim Coated Walls for Paint or Finish
Once the final coat is dry and sanded, walls must be properly prepared before painting.
Final Preparation Steps
- Wipe down surfaces to remove dust
- Apply a suitable primer to seal the compound
- Inspect under different lighting conditions
Priming is especially important because joint compound absorbs paint differently than drywall, which can lead to uneven sheen if skipped.
For homeowners planning broader interior improvements, skim coating is often part of a larger preparation process alongside painting and finishing services offered through professional providers.
Conclusion
Skim coating walls is a practical method for improving interior wall appearance by addressing surface imperfections and creating a more uniform finish. By understanding when skim coating is appropriate, what materials are involved, and how the process works, we can approach wall preparation with realistic expectations. This knowledge supports informed decision-making, whether planning a DIY project or evaluating professional services as part of a larger interior update.
Book a Skim Coating Service
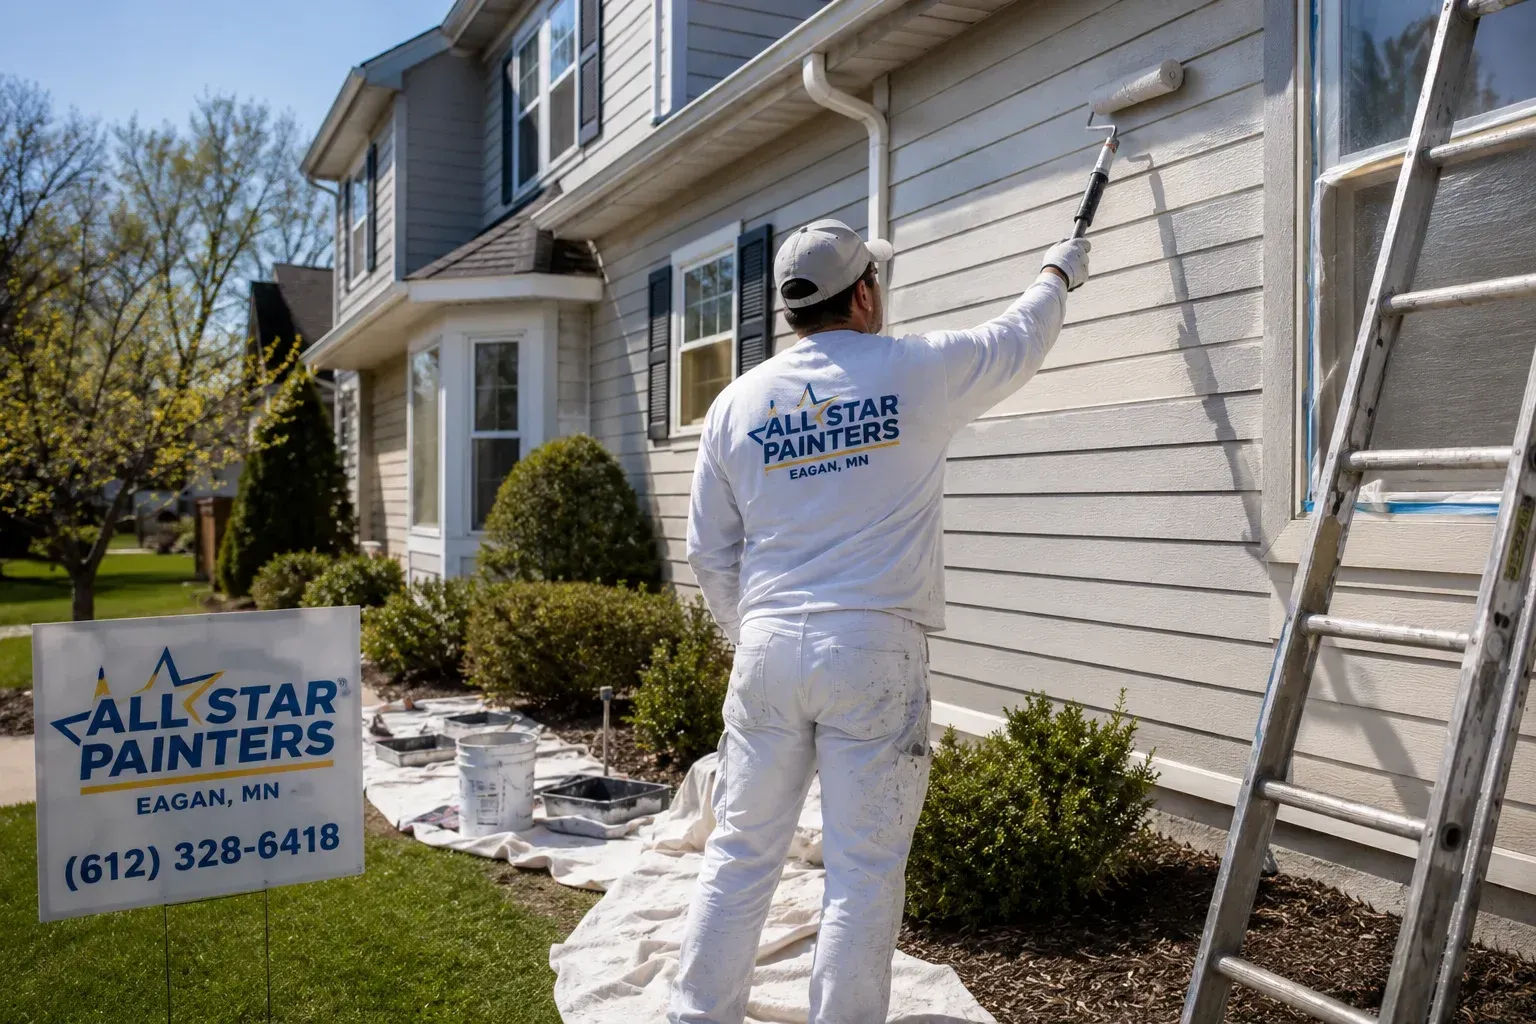
For homeowners and property owners in Eagan, MN seeking guidance on wall preparation, we provide professional insight into skim coating and related interior services. If you would like to discuss your wall condition or understand available options, you may contact All Star Painters for additional information.
Send us an email at eloy.allstars@gmail.com or call (612) 328-6418 to learn more about our services.
Frequently Asked Questions
What is the purpose of skim coating walls?
Skim coating helps smooth out minor surface imperfections so walls are more suitable for painting or finishing.
How many coats are typically needed?
Most walls require two to three thin coats, depending on the condition of the surface.
Can skim coating be done over painted walls?
Yes, but the surface should be clean and lightly sanded to promote adhesion.
Is skim coating the same as plastering?
While similar, skim coating usually involves joint compound rather than traditional plaster and is applied in thinner layers.
How long does skim coating take to dry?
Drying times vary based on humidity, temperature, and compound type, but each coat typically needs several hours to dry.
Does skim coating fix structural wall problems?
No, skim coating addresses surface-level issues only and does not correct underlying structural damage.
Is skim coating necessary before painting?
It is not always required, but it can improve results when walls have visible imperfections or uneven textures.